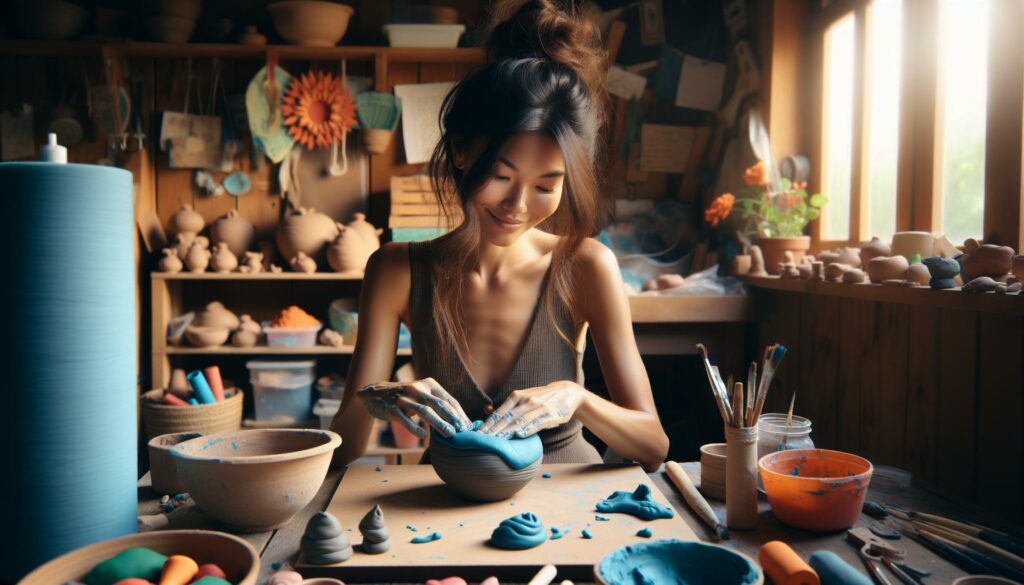
There’s something magical about working with clay. It’s a versatile medium that allows me to unleash my creativity and craft unique pieces right at home. Whether I’m making decorative items or functional pieces, DIY clay projects have a way of transforming simple ideas into tangible art.
Key Takeaways
- Creative Benefits: DIY clay projects offer a unique way to express creativity, reduce stress, and develop fine motor skills through hands-on crafting.
- Clay Types: Choosing the right clay—such as air-dry, polymer, natural, or self-hardening— is crucial for different projects, ensuring the best results based on individual needs.
- Versatile Project Ideas: Popular DIY projects include decorative bowls, sculptures, and personalized jewelry, allowing for endless customization and artistic expression.
- Essential Tools: Utilizing the right tools, such as clay knives, rolling pins, and embossing tools, enhances the crafting experience and improves overall project outcomes.
- Successful Techniques: Key techniques, including proper kneading, texture creation, and appropriate drying or baking methods, significantly impact the success of DIY clay projects.
DIY Clay Projects
DIY clay projects offer a rewarding way to express creativity while producing unique items. From decorative pieces to functional ware, working with clay unlocks unlimited possibilities.
Benefits of Working with Clay
Working with clay provides numerous benefits.
- Creative Expression: Clay serves as a versatile medium, allowing for endless design possibilities.
- Stress Relief: The tactile nature of clay offers therapeutic effects, helping to alleviate stress.
- Skill Development: Engaging in clay projects hones fine motor skills and enhances artistic abilities.
- Customization: I can personalize each project, ensuring unique creations tailored to individual tastes.
Suitable Clay Types for DIY Projects
Selecting the right type of clay is essential for successful projects.
- Air-Dry Clay: This clay requires no baking, making it suitable for beginners. It hardens when exposed to air.
- Polymer Clay: Versatile and available in various colors, polymer clay needs baking to set. It’s perfect for detailed crafts.
- Natural Clay: Ideal for pottery, natural clay must be kiln-fired. It’s great for serious ceramicists.
- Self-Hardening Clay: This type hardens without baking, offering a sturdy finish useful for larger projects.
Choosing the right materials ensures the success of individual projects while enhancing the overall crafting experience.
Popular DIY Clay Project Ideas
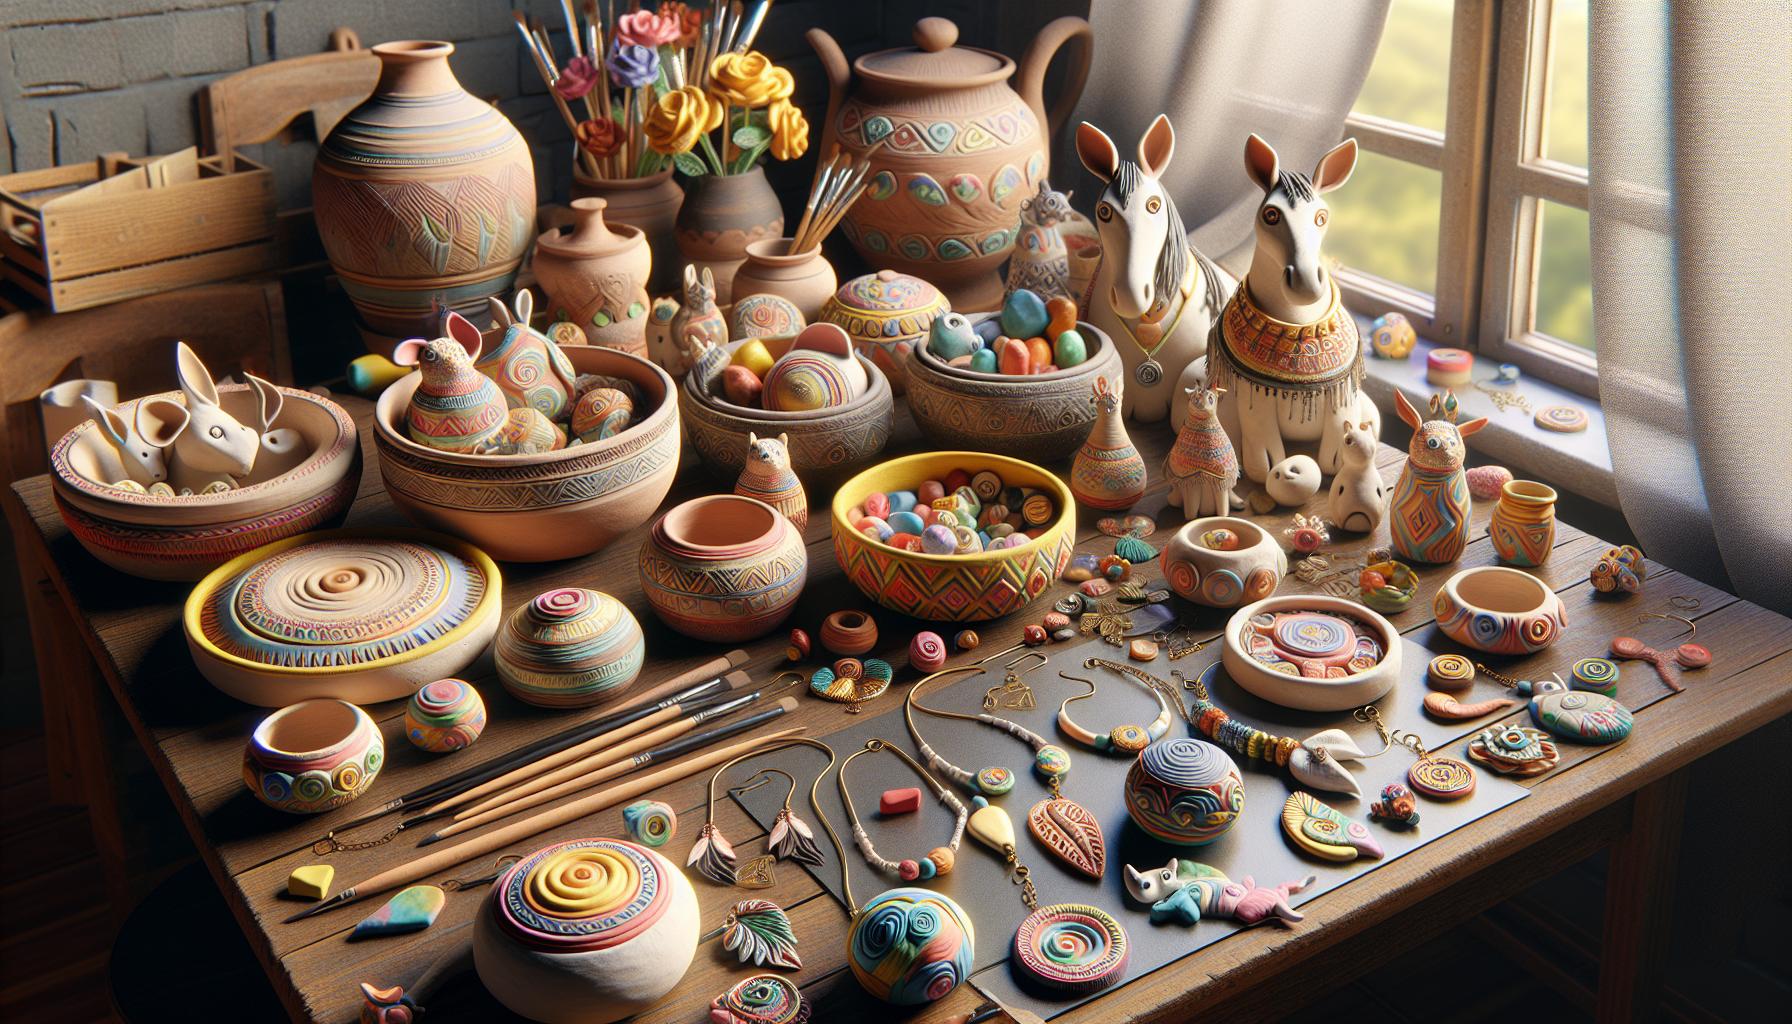
Exploring creative clay projects opens up various possibilities for crafting stunning items. Here’s a look at some popular project ideas you can try.
Decorative Bowls and Dishes
Creating decorative bowls and dishes offers both artistic expression and utility. I use air-dry clay or polymer clay for these projects, shaping them into unique forms. After molding, I often paint or glaze them to enhance their appearance. Great examples include shallow bowls for jewelry or deep dishes for fruit.
| Type of Bowl/Dish | Materials | Purpose |
|---|---|---|
| Jewelry Bowl | Air-dry clay | Organizing accessories |
| Serving Dish | Polymer clay | Presenting snacks |
| Succulent Planter | Natural clay | Displaying plants |
Clay Sculptures and Figurines
Clay sculptures and figurines allow for artistic flair and creativity. I enjoy crafting characters or animals using polymer clay due to its versatility. I focus on details and textures, painting them afterward for a polished finish. These sculptures make excellent decorative items or gifts.
| Figurine Type | Techniques | Details |
|---|---|---|
| Animal Figurines | Hand-building | Realistic features |
| Character Models | Carving | Personalized designs |
| Abstract Sculptures | Coiling | Unique shapes |
Personalized Clay Jewelry
Making personalized clay jewelry combines fashion and creativity. I use polymer clay for earrings, necklaces, and rings, allowing for endless design possibilities. Customizing pieces with colors, shapes, and patterns adds a personal touch, making them perfect gifts or statement accessories.
| Jewelry Type | Materials | Customization |
|---|---|---|
| Earrings | Polymer clay | Color and shape variations |
| Necklaces | Air-dry clay | Personalized charms |
| Rings | Self-hardening clay | Unique designs and sizes |
Tools and Materials Needed
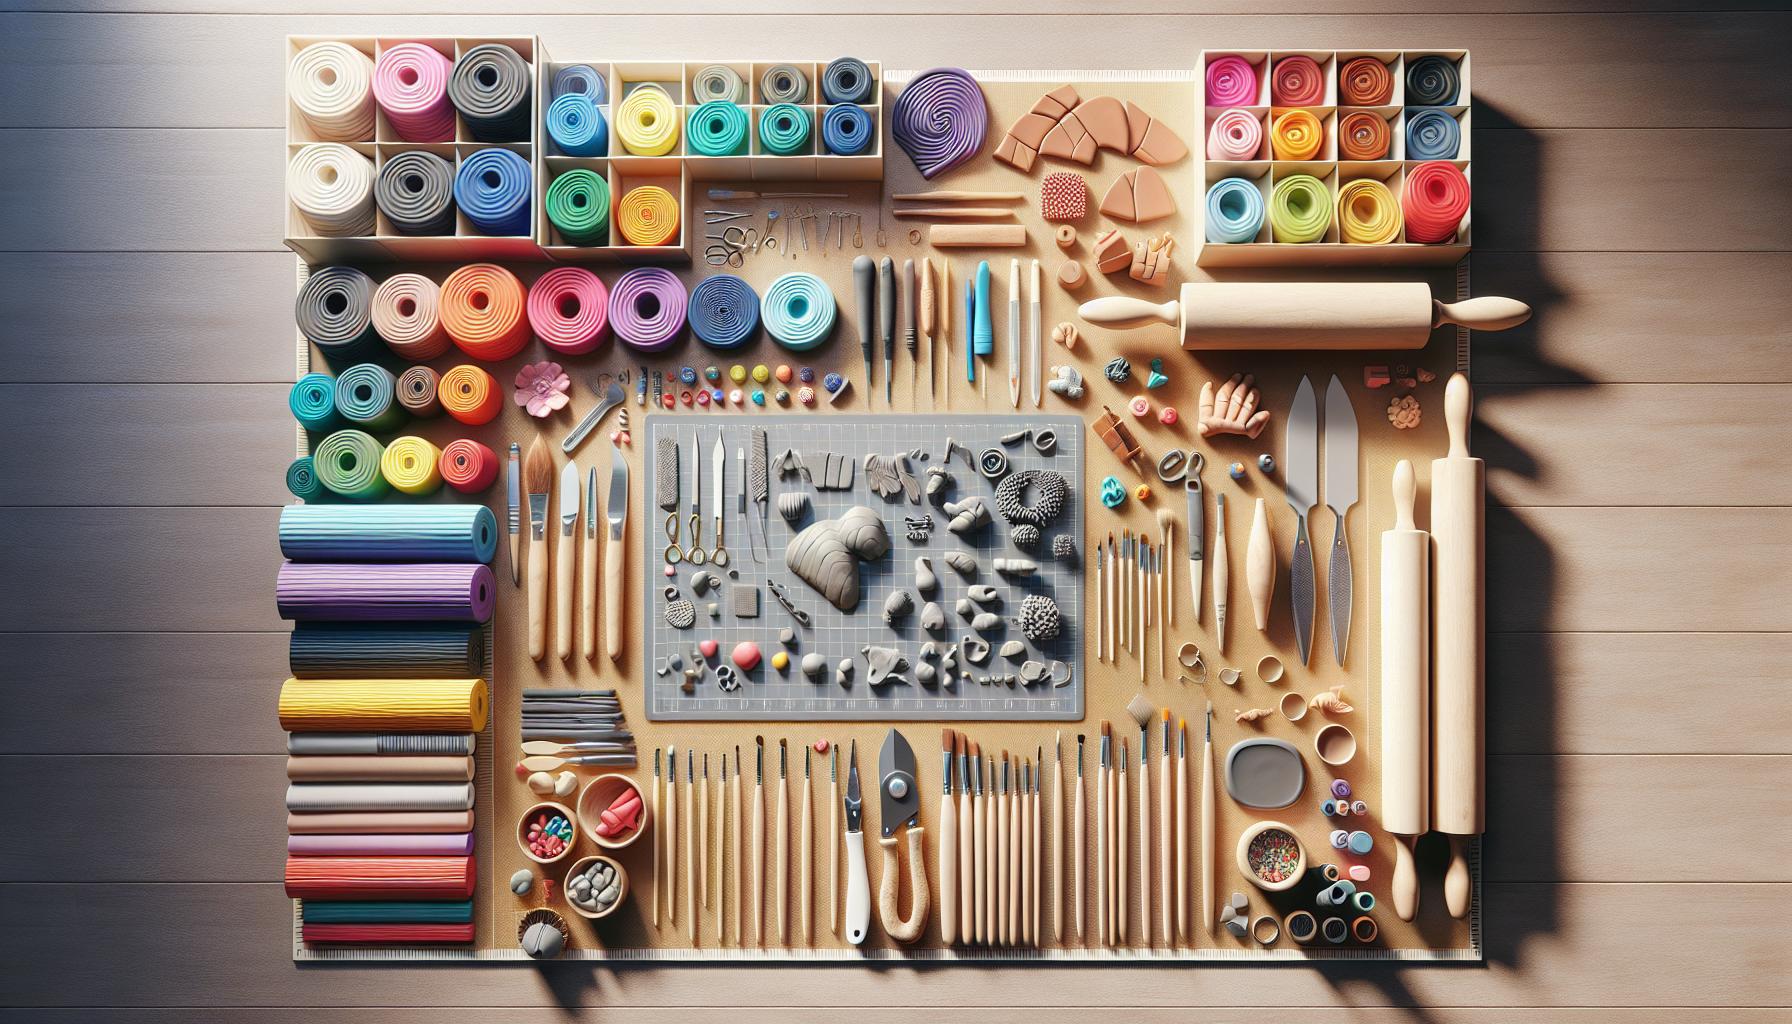
Gathering the right tools and materials enhances the DIY clay project experience. Below are essential tools and guidelines for selecting the correct clay materials.
Essential Clay Tools
- Clay Knife: I use a sharp clay knife for precise cutting and shaping of clay. This tool works well for making clean edges and intricate details in my projects.
- Rolling Pin: Rolling pins help me flatten clay evenly. They ensure consistent thickness, which is crucial for items like bowls or tiles.
- Sculpting Tools: Various sculpting tools assist in detailing and texturing clay. I find a variety of shapes, such as loops and pointed tips, beneficial for adding dimension to my creations.
- Molds: Molds come in handy for creating specific shapes. I often use silicone molds for consistent results, especially in repetitive projects like coasters or keychains.
- Craft Mat: A non-stick craft mat provides a clean workspace, making cleanup easier. It also protects surfaces from the sticky nature of some clays.
- Embossing Tools: Embossing tools allow me to add patterns or designs to the surface of the clay. These tools enhance the aesthetic appeal of my projects.
- Paintbrushes: I use various sizes of paintbrushes for painting or glazing finished pieces. Quality brushes ensure smooth application and detailed work.
Choosing the Right Clay Material
Choosing the right clay material significantly impacts project outcomes. Several types of clay exist, each suited for specific purposes:
- Air-Dry Clay: Air-dry clay requires no baking and hardens when exposed to air. This clay is ideal for quick projects, making it beginner-friendly.
- Polymer Clay: Polymer clay is versatile and can be baked in a home oven. It comes in numerous colors and can be blended, making it perfect for jewelry and detailed sculptures.
- Natural Clay: Natural clay often requires firing in a kiln. This type of clay provides durability and is typically used for pottery or professional projects.
- Self-Hardening Clay: Self-hardening clay is similar to air-dry clay but offers added strength. It’s suitable for various projects where more resilience is desired.
Selecting the appropriate clay material based on the project type ensures success and enhances the overall creative process.
Tips for Successful DIY Clay Projects
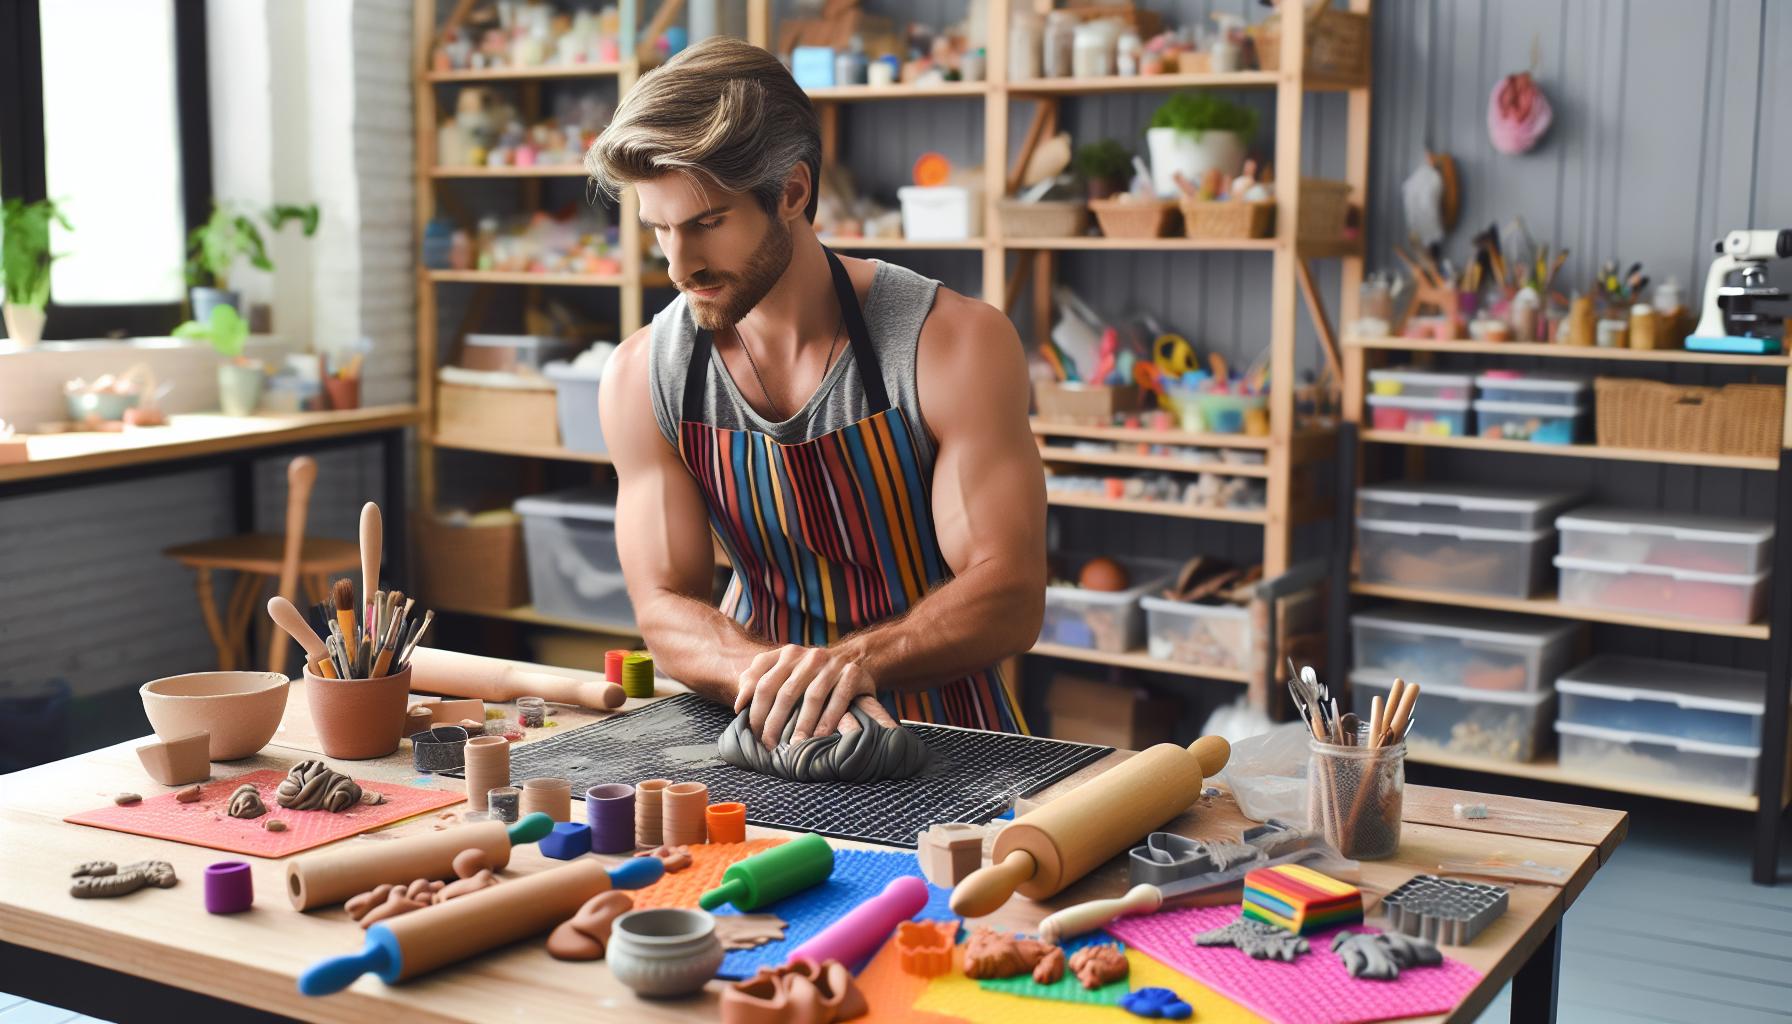
For successful DIY clay projects, understanding essential techniques helps achieve great results. Here are key approaches to enhance your crafting experience.
Handling and Molding Techniques
- Kneading Clay: Knead polymer or air-dry clay before use. This process removes air bubbles and ensures consistent texture.
- Storing Leftover Clay: Wrap unused clay in plastic wrap or place it in an airtight container. Proper storage prevents drying out and maintains workability.
- Using a Rolling Pin: Roll out clay to an even thickness. Choose a thickness that suits your design for consistent drying and baking.
- Creating Texture: Utilize tools like stamps or embossing mats to apply texture, adding interest and uniqueness to designs.
- Cutting Shapes: Use cookie cutters or precise cutting tools for clean edges. This technique enhances the professional look of your projects.
- Drying Air-Dry Clay: Allow projects made with air-dry clay to sit in a well-ventilated area. Avoid direct sunlight to prevent cracking.
- Baking Polymer Clay: Follow the manufacturer’s instructions regarding temperature and baking time. Typically, baking at 275°F for 15-30 minutes is effective, depending on thickness.
- Checking for Doneness: Gently press the clay after baking. It should feel firm but not overly hard.
- Cooling Before Handling: Let baked items cool completely before manipulation. This ensures they maintain their shape and avoid breakage.
- Sealing Finished Pieces: Apply a clear sealant to protect your creations from moisture and scratches. Choose a sealant compatible with your specific clay type.
By implementing these techniques, I enhance the success and enjoyment of my DIY clay projects, leading to impressive results.
Expressing creativity
Embracing DIY clay projects has truly enriched my creative journey. There’s something magical about transforming raw clay into beautiful and functional pieces. Each project not only allows me to express my creativity but also brings a sense of accomplishment.
Whether I’m crafting a unique jewelry bowl or a stunning succulent planter, the possibilities are endless. With the right materials and techniques, I can achieve impressive results that reflect my personal style.
I encourage you to dive into the world of clay crafting. You’ll discover not just a hobby but a fulfilling way to unwind and create art that’s uniquely yours. So grab some clay and let your imagination run wild.

